

The Dubai desert offers breathtaking visuals, but capturing them well is trickier than it looks.
Dubai Tips & Guides
> Desert Safari Photography Tips Dubai
Harsh midday light washes everything out. Sand gets into lenses. The 4x4 bounces too hard for steady shots. And the best light window lasts less than an hour.
This guide covers the practical side — what settings to use, when to shoot, how to get good photos from each safari activity, and how to keep sand out of your gear.
See our Complete Desert Safari Guide →
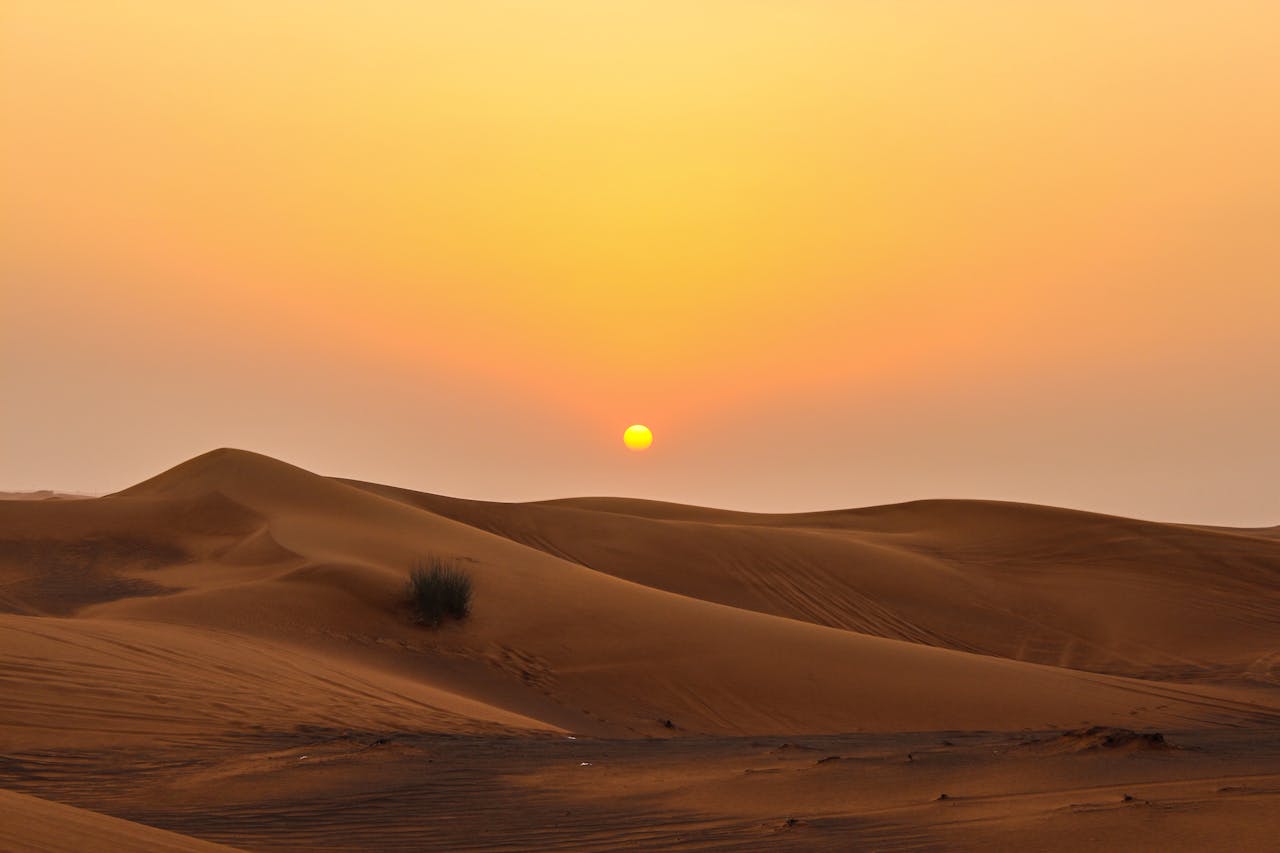
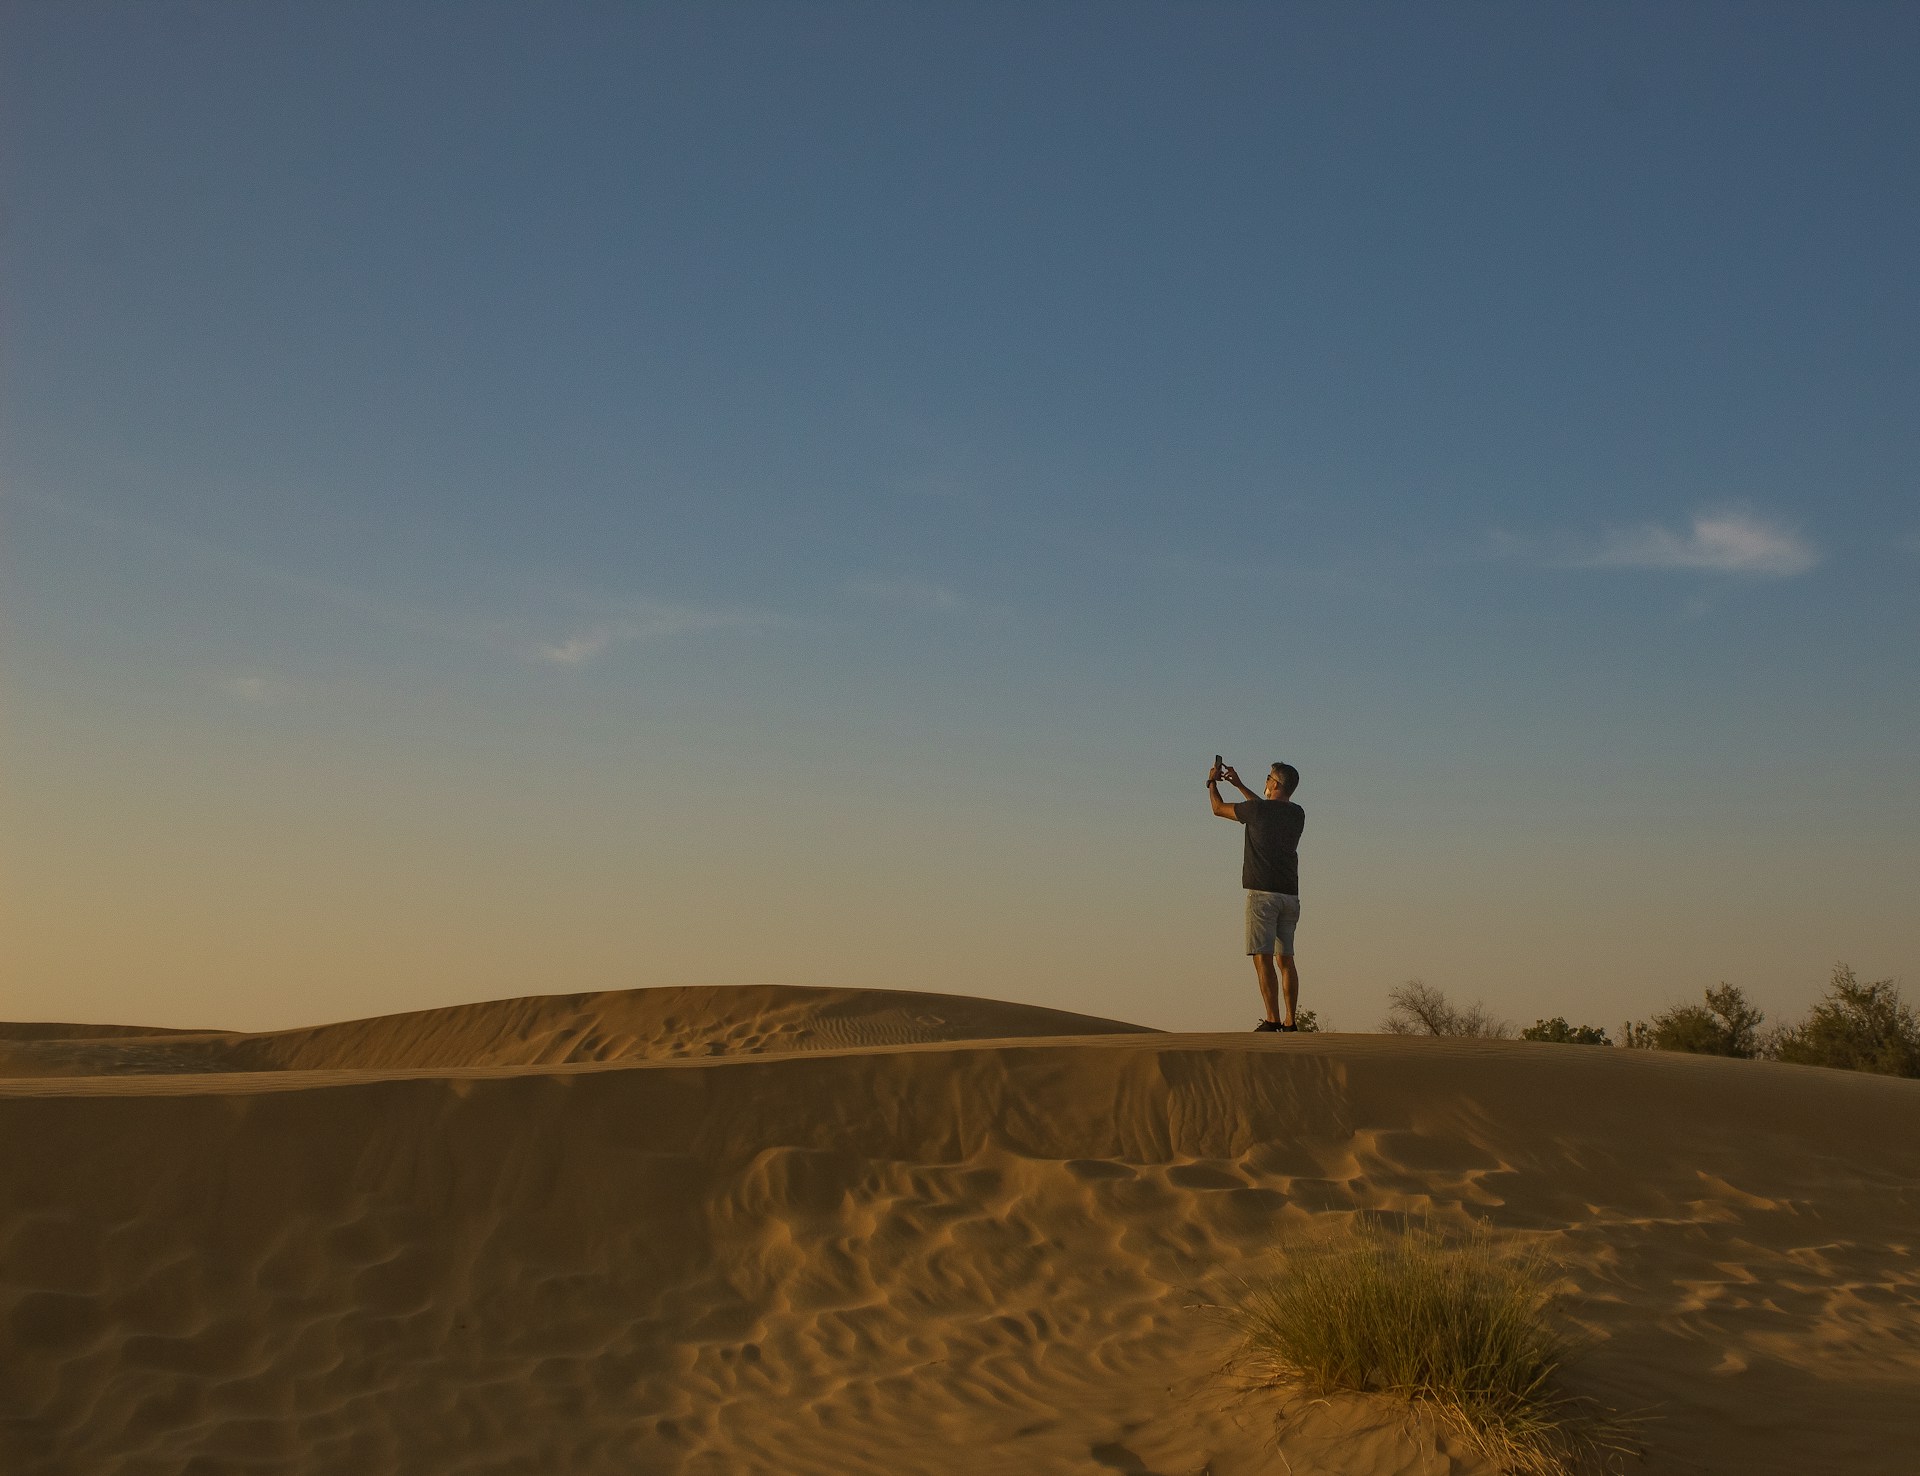
Light makes or breaks desert photography. The same dune can look flat and lifeless at noon or deeply sculpted and golden at sunset. Knowing when to pull out your camera is the most important tip in this entire guide.
The 45–60 minutes after sunrise and before sunset produce the best desert photos. The low-angle light creates long shadows that reveal the texture and curves of the dunes, and the warm colour temperature turns the sand from pale beige to deep gold and orange.
In Dubai, golden hour timing shifts by season:
Sunset around 5:30–6:00 PM. Golden hour starts around 4:45 PM.
Sunset around 7:00–7:15 PM. Golden hour starts around 6:15 PM.
If you book an evening safari, the sunset stop at the top of a high dune is your best photo opportunity of the entire trip. Be ready with your camera before the driver stops — the light changes fast.
The 20–30 minutes after sunset offer a cooler, moodier light. The sky shifts from orange to deep blue while the sand holds the last warmth. This is the time for silhouette shots and wide landscape photos with rich colour gradients.
Direct overhead sun between 11:00 AM and 3:00 PM flattens the dunes and creates harsh shadows on faces. If you must shoot at midday, consider converting to black and white in editing — the high contrast that ruins colour photos can work well in monochrome.
The desert has almost zero light pollution. On clear nights, the Milky Way is visible to the naked eye. If your safari includes an evening camp, step away from the camp lights after dinner for a few minutes. Even a smartphone in night mode can capture something worth keeping.
The desert's bright sand and intense sunlight fool camera meters into underexposing. These settings will get you closer to accurate results.
| Setting | Recommended Value |
|---|---|
| Mode | Aperture Priority (A/Av) or Manual |
| Aperture | f/8 – f/11 (sharp across the frame) |
| ISO | 100–200 (lowest your camera allows) |
| Exposure compensation | +0.5 to +1.0 (bright sand tricks the meter) |
| Focus | Manual focus or single-point AF on the dunes |
| White balance | Daylight or Shade (avoid Auto — it often cools down the warm tones you want to keep) |
| Setting | Recommended Value |
|---|---|
| Mode | Shutter Priority (S/Tv) or Manual |
| Shutter speed | 1/1000s or faster (freezes sand spray and vehicle motion) |
| ISO | Auto (up to 800) |
| Focus | Continuous AF (AI Servo / AF-C) |
| Drive mode | Burst / Continuous shooting |
| Setting | Recommended Value |
|---|---|
| Mode | Aperture Priority |
| Aperture | f/2.8 – f/4 (blurs the background) |
| ISO | 100–400 |
| Focus | Single-point AF on the subject's eyes |
| Setting | Recommended Value |
|---|---|
| Mode | Manual |
| Aperture | Widest available (f/2.8 or lower) |
| Shutter speed | 15–25 seconds |
| ISO | 1600–3200 |
| Focus | Manual focus set to infinity |
| Tripod | Required |
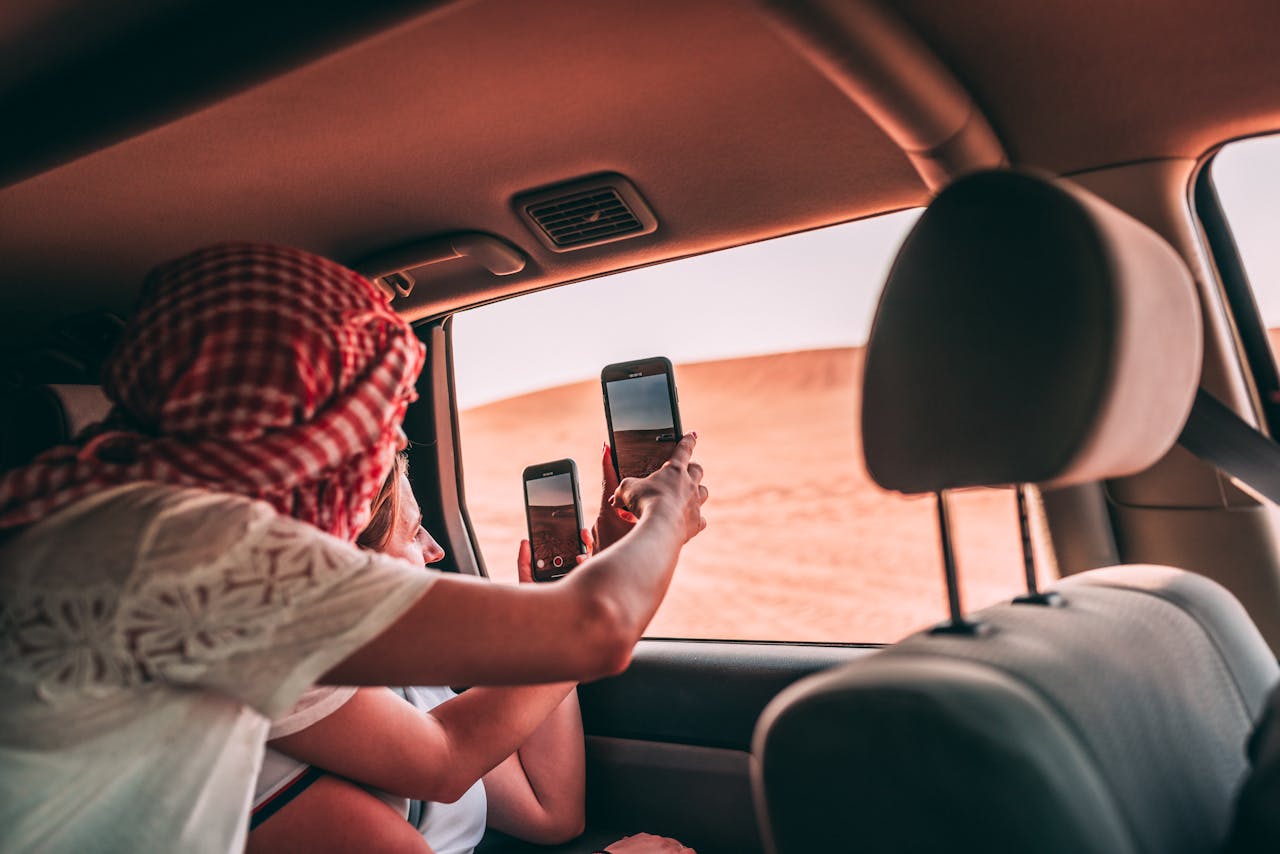
Most safari visitors shoot on phones, not cameras. That is fine — modern smartphones handle desert light well if you know a few tricks.
Clean your lens constantly. Sand dust accumulates on phone lenses faster than you notice. A single grain of sand across the lens ruins every shot. Wipe it with a microfibre cloth (not your shirt — fabric can scratch the coating).
Rather than a generic shot list, here is what to aim for at each stage of the safari — and how to get it.
The 4x4 ride is exciting but terrible for photography. The vehicle bounces hard, your hands are gripping the handle, and sand sprays across the windows.
Photograph through the windshield as the vehicle crests a dune and the desert opens up below. Ask the driver if they can pause at the top for 5 seconds.
This is your highest-value photo opportunity. The driver parks at the top of a tall dune for 10–15 minutes while the sun drops.
A silhouette of your group (or a single person) standing on the dune ridge with the sun behind them. Expose for the sky, and the people become dark outlines.
Sunrise Safari for Photography →
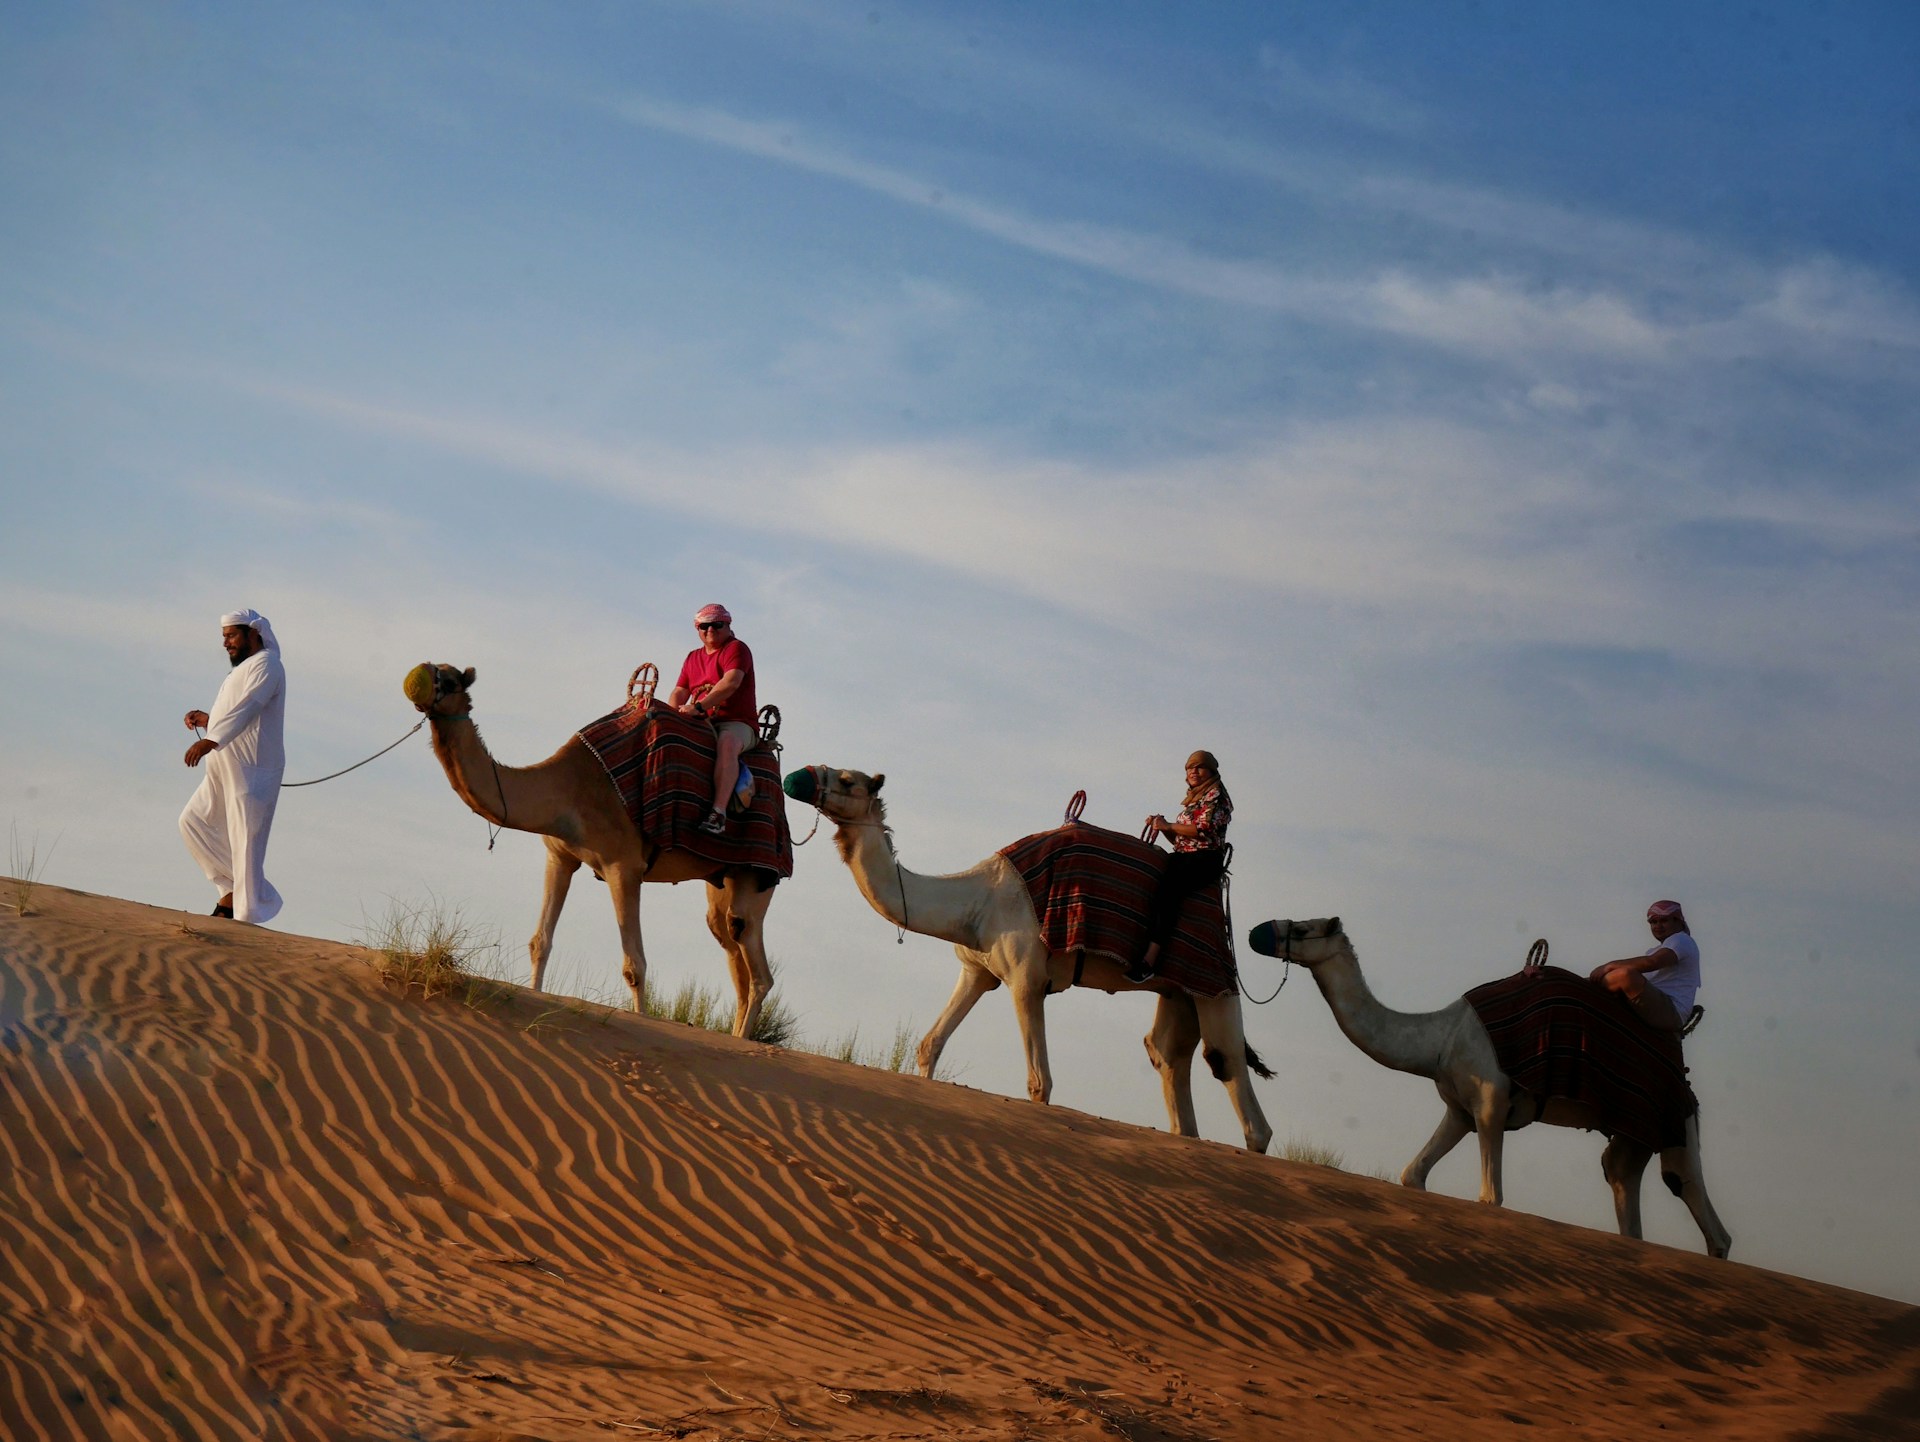
Camels photograph well. They are tall, textured, and naturally dramatic against the sand.
A camel and rider in profile (from the side) with the dunes behind. Ask someone on the ground to photograph you — selfies on a camel rarely look good because the angle is too close.
Fast action against bright sand. Tricky to expose correctly.
A sandboarder mid-slide with sand spraying behind them. Position yourself below and to the side of the dune, not at the bottom (you will get sand in your face and lens).
Tip: Use a fast shutter speed (1/1000s+) or burst mode on your phone. The sand spray freezes mid-air and looks dramatic.
The evening camp has warm string lights, fire shows, and colourful performers. The light drops fast after sunset.
The Milky Way arching over the desert. This requires a camera with manual settings and a tripod. On a phone, use Night Mode with the phone propped against something stable.
Tip: Walk at least 50 metres from the camp lights. Even a short distance makes a significant difference in how many stars are visible.
Sand dunes create natural leading lines — S-curves, diagonals, and ridgelines that pull the viewer's eye through the frame. Position the dune ridge along one of the rule-of-thirds lines rather than through the centre.
A lone figure walking along a dune ridge immediately communicates the vastness of the desert. Without a person, an animal, or a vehicle in the frame, dunes can look like they are any size. Scale is what makes desert photos feel epic.
Silhouettes are simple to capture and consistently impressive. Place your subject between you and the sun, expose for the bright sky (tap the sky on your phone), and let the subject go dark. Works for people, camels, and vehicles.
The sharp edge where the light side and shadow side of a dune meet is the most visually compelling line in the frame. Do not walk along dune ridges before photographing them — footprints break the clean edge and cannot be undone. Walk on the smoother, less defined slopes instead.
Desert photos that include an element in the foreground (rippled sand, a plant, a piece of camp equipment) have more depth than photos shot at eye level pointing at the horizon. Crouch low and let the textured sand fill the bottom third of your frame.
Your outfit affects your photos more than your camera. The desert is a neutral backdrop — beige, gold, brown — which means your clothing creates the contrast.
Flowing materials (linen, chiffon, loose cotton) catch the desert wind and add movement to your shots. Fitted, stiff clothing looks static by comparison.
Desert sand is fine, abrasive, and gets into everything. It scratches lens coatings, jams zoom rings, and clogs camera ports. A few precautions prevent expensive damage.
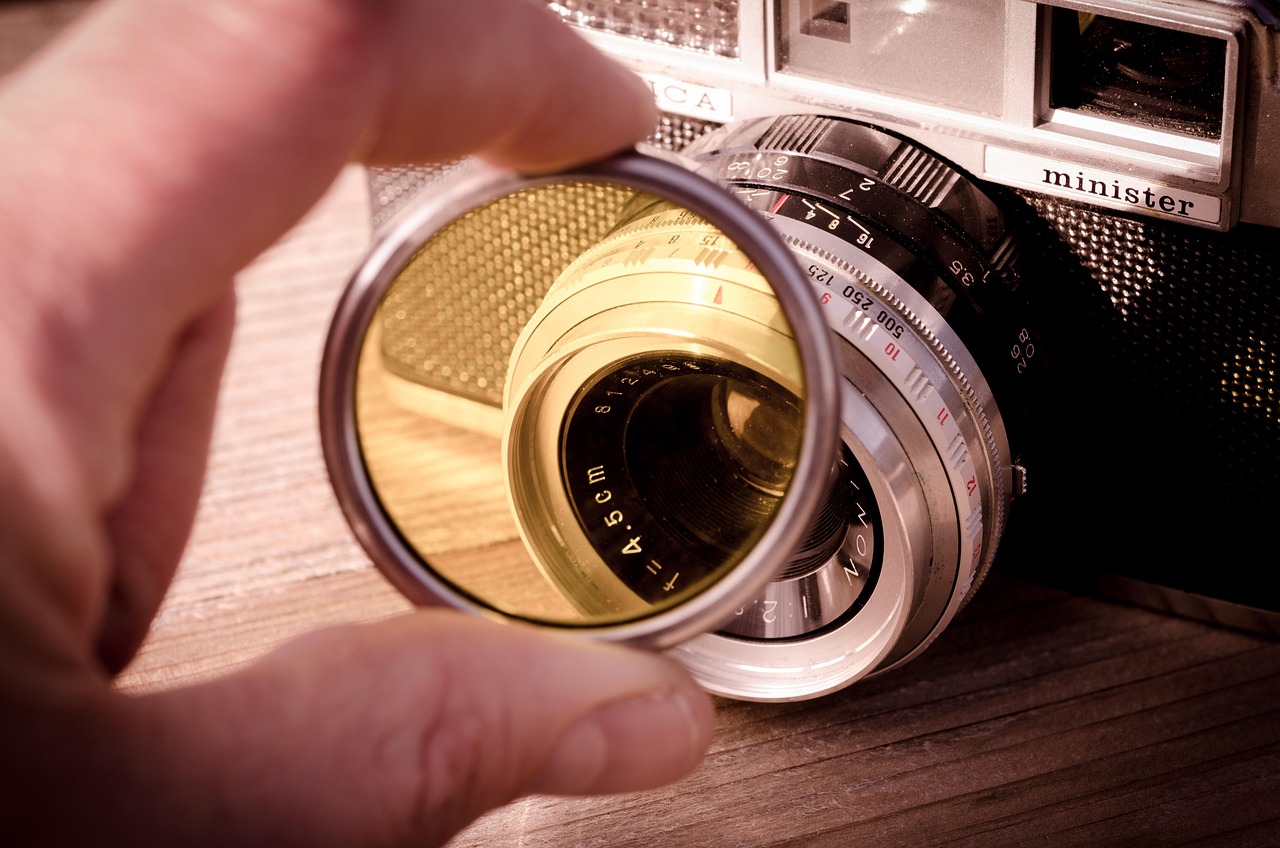
Do not change lenses in the desert. This is the single most important rule. If sand enters your camera body, it can damage the sensor permanently. Bring one versatile lens (a 24–70mm covers most safari situations) and commit to it for the entire trip.
These are the errors we see most often in guest photos — and each one is preventable.
The desert looks flat and washed out between 11:00 AM and 3:00 PM. If your safari runs through midday, save your energy and battery for the golden hour. Rest in the shade.
Footprints ruin the sharp light-shadow edge that makes dune photos dramatic. Photograph first, walk later.
Bright sand confuses your camera meter into making the scene darker than it is. Dial in +0.5 to +1.0 exposure compensation, or tap a mid-tone area on your phone screen.
Flash kills the warm ambient light of the camp lanterns and string lights. Every camp photo looks better with flash off and Night Mode on.
The vehicle moves too aggressively. You will get blurry shots and miss the experience itself. Take a few burst-mode attempts through the windshield and put the camera away. Enjoy the ride.
Many guest photos show a great subject (person, camel, food) with a cluttered or empty background. Take two seconds to reposition so the dunes, sunset, or camp are visible behind your subject.
A few simple edits can improve your desert photos significantly. You do not need professional software — Lightroom Mobile (free) or Snapseed (free) handle all of these.
Aerial desert photography is stunning, but Dubai has strict drone regulations. Flying without proper authorisation can result in fines or confiscation.
Most safari operators do not allow personal drones during group tours. If aerial photography is important to you, book a private safari and discuss drone clearance with your operator in advance. Some premium operators offer drone photography as part of their package.
The 45–60 minutes before sunset (golden hour) produces the best results. The low-angle light creates long shadows on the dunes, warm colour tones, and soft contrast on faces. Evening safaris time the sunset stop specifically for this window. Morning safaris offer good light in the first hour after sunrise, but the colour is cooler and less dramatic.
Yes. Modern smartphones handle desert light well, especially with HDR mode enabled. Use the ultra-wide lens for landscapes, Portrait mode for people, and burst mode during dune bashing. The biggest phone-specific tip is to clean your lens constantly — fine sand dust builds up within minutes and causes hazy photos.
Do not change lenses in the desert — this is the most important rule. Use a UV filter on your lens, keep your camera in a sealed bag when not shooting, and use a rocket blower (not a brush) to remove sand particles. Avoid wiping sand off your lens with a cloth, as it can scratch the coating.
For landscapes: f/8–f/11, ISO 100–200, with +0.5 to +1.0 exposure compensation (bright sand fools the meter). For action shots (dune bashing, sandboarding): 1/1000s shutter speed or faster with continuous autofocus. For sunset portraits: f/2.8–f/4 with the subject backlit. For night sky: f/2.8, 15–25 second exposure, ISO 1600–3200 on a tripod.
Reds, deep oranges, royal blue, and white photograph best against the neutral sand tones. Avoid beige, khaki, and tan — you will blend into the background. Flowing fabrics catch the desert wind and add movement to your shots, which looks more dynamic than fitted clothing.
Dubai has strict drone laws. You must register with the DCAA and obtain a No Objection Certificate before flying. Most group safari operators do not permit personal drones. If aerial photography is a priority, book a private safari and arrange drone clearance with your operator in advance.
The desert gives you the backdrop. Your job is to show up at the right time, point your camera at the right things, and keep sand out of the lens.
Shoot during golden hour. Use burst mode when the vehicle is moving. Clean your phone lens every few minutes. Protect the dune ridgeline from footprints. And edit your white balance warmer when you get home.
The photos you bring back from the desert will outlast every other souvenir from Dubai. A few minutes of preparation makes the difference between snapshots and the kind of images you actually print.
Book your desert safari and put these tips into practice.